4. Create a Service
To create the AosEdge service you've been logged in as an SP user. User types are defined on AosEdge dictionary. If you have problems with the login, please refer to the Get Access page.
Create a service on AosCloud site:
Service will be created automatically after the first service version is published.
Create a new service version
-
Sign in to your GitHub account and clone the sample Aos SDK 'Hello World' to your workstation. See the GitHub tutorial Cloning a repository for detail.
-
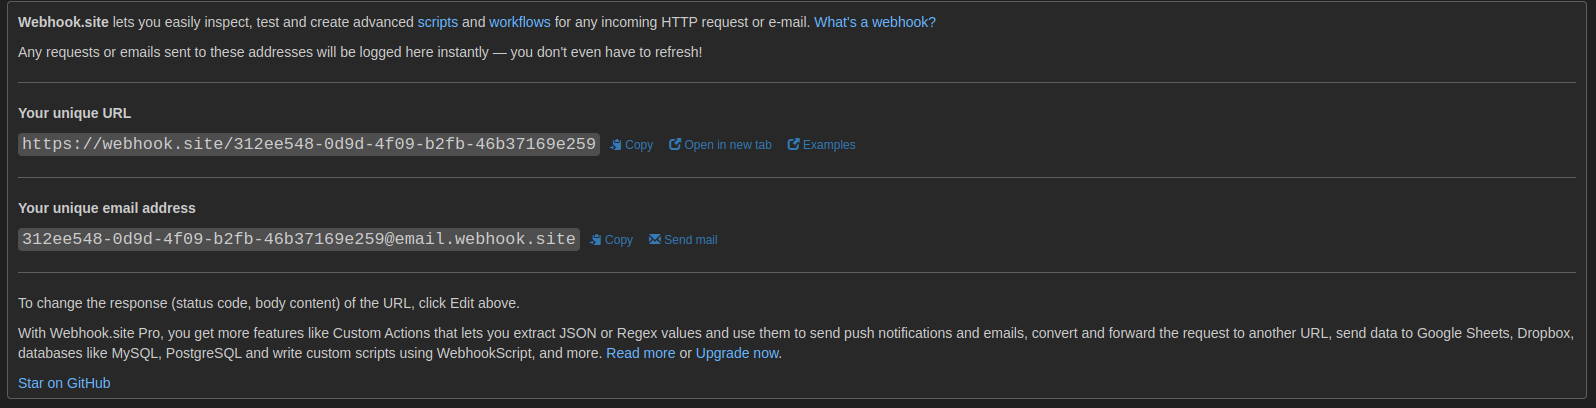
Open Webhook.site in your web browser at https://webhook.site. Webhook.site generates a unique URL for processing requests, like in the figure below.
-
Open file webhook_example.py and put webhook unique URL into code:
Instead of:

Should be:

where HTTP_REQUEST_RECEIVER_URL points to the newly generated URL.
Sign and upload the service version.
You can use this scenario to upload your service directly to AosCloud using the aos-signer tool.
-
Sign the service. In the directory of your cloned application, run the following command:
- Windows
- macOS\Linux
~/.aos/venv/Scripts/python -m aos_signer sign~/.aos/venv/bin/python3 -m aos_signer signYou can see the following output:
Starting DEPLOYMENT BUNDLE SIGNING process...Starting CONFIG VALIDATION process...Validating config... VALIDValidating image paths... VALIDStarting BUNDLE BUILDING process...Certificate info: user=aos-sp, domain=aoscloud.ioCopying items source... DONECopying configuration... DONECreating archive... DONESigning deployment bundle... DONECreating deployment bundle... DONEDeployment bundle successfully created: /Users/User/projects/github.com/aosedge/hello-world/batch.tar.gzThis creates an archive named batch.tar.gz. This is a ready-for-upload deployment bundle.
-
Upload batch.tar.gz to AosEdge with the command:
- Windows
- macOS\Linux
~/.aos/venv/Scripts/python -m aos_signer upload~/.aos/venv/bin/python3 -m aos_signer uploadIf uploading was successful, the command output is completed with the Deployment bundle successfully uploaded! message.
After that, you can see the information about the uploaded service on the service detail page in the Services section of AosEdge.