Sample - Python Preset Example
This example shows how to use shared state on a unit.
Prerequisites
- Tools: AosCore SDK, Bash, Python and a virtual environment (
venv) are installed.
Source Code
You can explore the example by checking out the source code.
Prepare Service for Upload
Before signing and uploading your service to AosCloud, verify that your source files are packaged in service1/x86 and review the root config.yaml file.
-
Check service payload files.
Ensure the following files exist:
service1/x86/preset.pyservice1/x86/default_state.dat
-
Update service configuration.
Open the root service configuration file:
nano ./config.yamlExample
config.yamlstructure:schemaVersion: 2items:- identity:codename: "preset-service"configuration:cmd: /usr/bin/python3 -u preset.pystate:filename: default_state.datrequired: trueimages:- archInfo:architecture: amd64cmd: /usr/bin/python3 -u preset.pysourceFolder: x86sourceFolder: service1publish:tlsKey: aos-user-sp.p12Update fields such as service identity, version, and signing key as needed for your environment.
Upload service to AosCloud
From the preset directory, run:
<host>:~/demo-services/preset$ aos-signer go
Starting DEPLOYMENT BUNDLE SIGNING process...
Starting CONFIG VALIDATION process...
Validating config...           VALID
Validating image paths...      VALID
Starting BUNDLE BUILDING process...
....
Uploading...                   DONE
Deployment bundle successfully uploaded!
Confirm
For detailed instructions on working with logs, see Get service logs.
Open logs and find the message [AosEdge] Current preset.

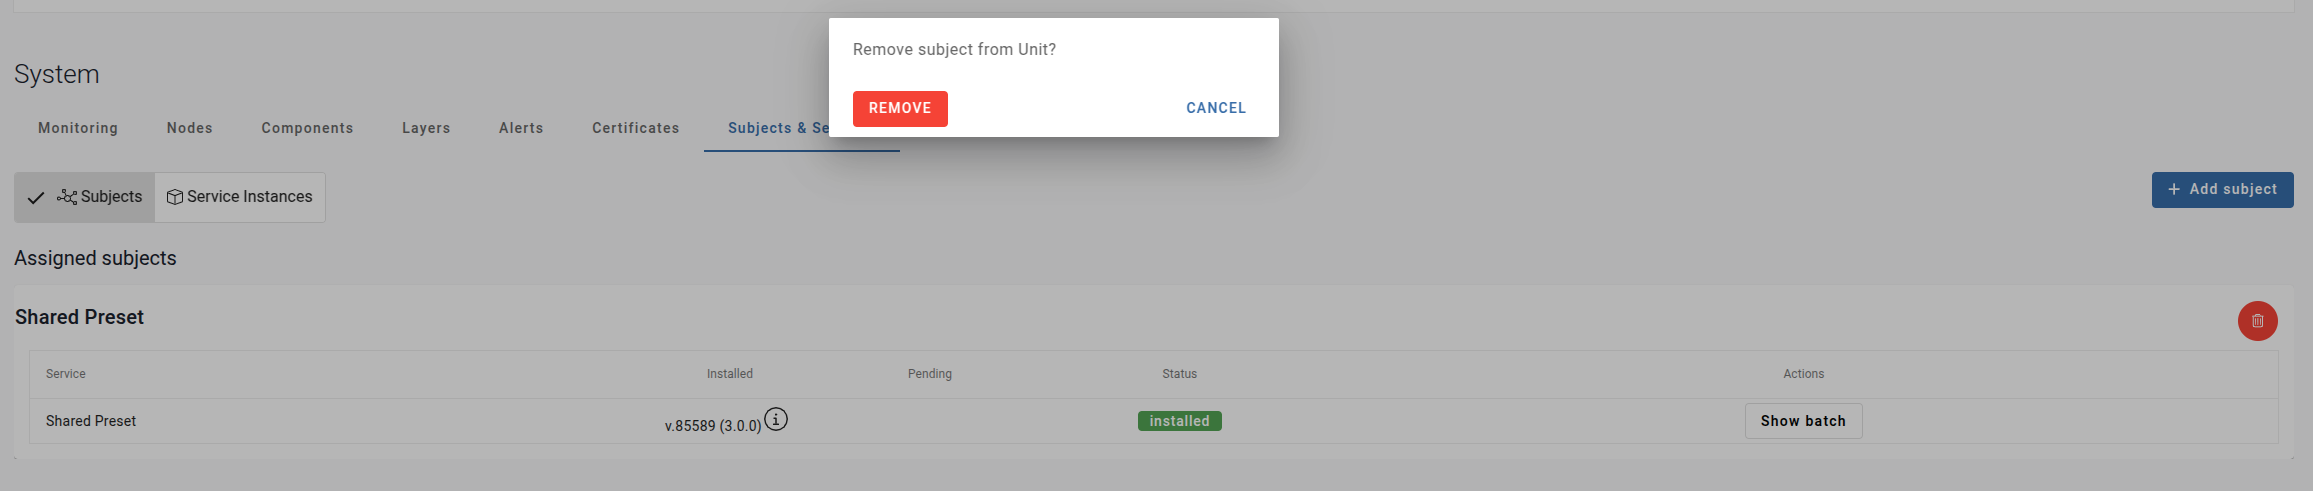
If the message is found, the preset is correctly applied on the current unit. Next, remove the subject from the current unit and assign it to another unit.
Go to Units and choose your unit.

Switch to Subjects & Services and remove the subject from the current unit.
Next, assign this subject to another unit. Go to Units and choose your unit.
- Assign as described in Assign a unit to subject.
- Approve as described in Approve service.
- Download logs for current unit
Open logs and find the message [AosEdge] Current preset.
You should see the same message, but the preset value should be different.
Expected result:
