Sample - Python Matplot
Install a custom layer in AosCloud.
Prerequisites
- Tools: AosCore SDK, Bash, Wget, Python and a virtual environment (
venv) are installed.
Source Code
You can explore the example by checking out the source code.
Install Additional Layer
If your implementation requires packages or libraries that are not present in the system, you can install them separately as an additional layer.
-
Create a custom layer. You can find detailed instructions on how to create a custom layer.
-
Upload the layer to the cloud using
aos-signerutil. -
Use the service codename to add it as a dependency for your service.
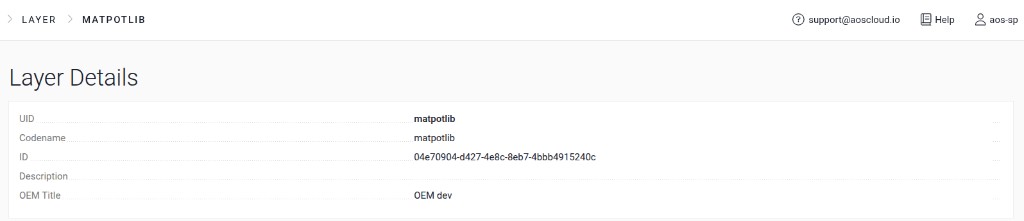
Example (Layer Details in AosCloud):
Prepare service for upload
Before signing and uploading your service to AosCloud, review the root config.yaml file and make sure the layer dependency is configured.
nano ./config.yaml
Example config.yaml:
schemaVersion: 2
items:
  - identity:
      codename: "matplot-demo-service"
    dependencies:
      - identity:
          codename: matpotlib
          type: layer
        versions: "1.0.0"
    configuration:
      workingDir: /
    images:
      - archInfo:
          architecture: amd64
        cmd: /usr/bin/env HOME=/ /usr/bin/python3 -u matplot.py
        sourceFolder: x86
    sourceFolder: service1
publish:
  tlsKey: aos-user-sp.p12
Update the layer identity/version and service metadata as needed for your environment.
Upload service to AosCloud
From the matplot directory, run:
<host>:~/demo-services/matplot$ aos-signer go
Starting DEPLOYMENT BUNDLE SIGNING process...
Starting CONFIG VALIDATION process...
Validating config...           VALID
Validating image paths...      VALID
Starting BUNDLE BUILDING process...
....
Uploading...                   DONE
Deployment bundle successfully uploaded!
Confirm
-
For detailed instructions on working with logs, see Get service logs.
-
Open the log files in a text editor and search for the message
"Plot has been successfully created.".
If the message is found, the service is working correctly.