Use layers
Introduction
The AosEdge platform's layer management subsystem is architected to facilitate the orchestration of service file systems across diverse device ecosystems.
Uploading layers
Prerequisites
OEM user certificatecan to upload and update layers.- Installed
aos-signertool. - Build layer following this guide.
Layer configuration
Before uploading layer, you should describe it as AosCloud Deployment bundle. To do that, you have to create config for it.
Add config.yaml to the parent dir of the layer root. Your file structure should look like this:
.
├── [dir-with-layer-files]
└── config.yaml
Fill the config file with the your information. Config reference: deployment bundle config. Or refer to example:
schemaVersion: 2
publisher:
  company: EPAM Systems
publish:
  tlsKey: aos-user-oem.p12
items:
- identity:
    codename: kuksa-client-b16
    type: layer
  version: 0.0.2
  images:
  - mediaType: application/vnd.oci.image.layer.v1.tar+gzip
    archInfo:
      architecture: amd64
    osInfo:
      os: linux
    path: kuksa-client-b16/linux-amd64-1.0.0.tar.gz
    images:
  - mediaType: application/vnd.oci.image.layer.v1.tar+gzip
    archInfo:
      architecture: arm64
    osInfo:
      os: linux
    path: kuksa-client-b16/linux-amd64-1.0.0.tar.gz
Upload layer
To upload layer, use aos-signer tool. Run the command below:
- Windows
- macOS/Linux
~/.aos/venv/Scripts/python -m aos_signer go
~/.aos/venv/bin/python3 -m aos_signer go
Example output!
~/.aos/venv/Scripts/python -m aos_signer go
Starting DEPLOYMENT BUNDLE SIGNING process...
Starting CONFIG VALIDATION process...
Validating config...           VALID
Validating image paths...      VALID
Starting BUNDLE BUILDING process...
Certificate info: user=user@epam.com, domain=aosedge.tech
Copying items source...        DONE
Copying default state...       SKIP
Copying configuration...       DONE
Creating archive...            DONE
Signing deployment bundle...   DONE
Creating deployment bundle...  DONE
Deployment bundle successfully created: C:\Users\user\layer_v\batch.tar.gz
Starting CONFIG VALIDATION process...
Validating config...           VALID
Validating image paths...      VALID
Starting BUNDLE UPLOAD process...
Starting CONFIG VALIDATION process...
Validating config...           VALID
Upload info: user=user@epam.com, domain=aosedge.tech
Uploading...                   DONE
Deployment bundle successfully uploaded!
Check result
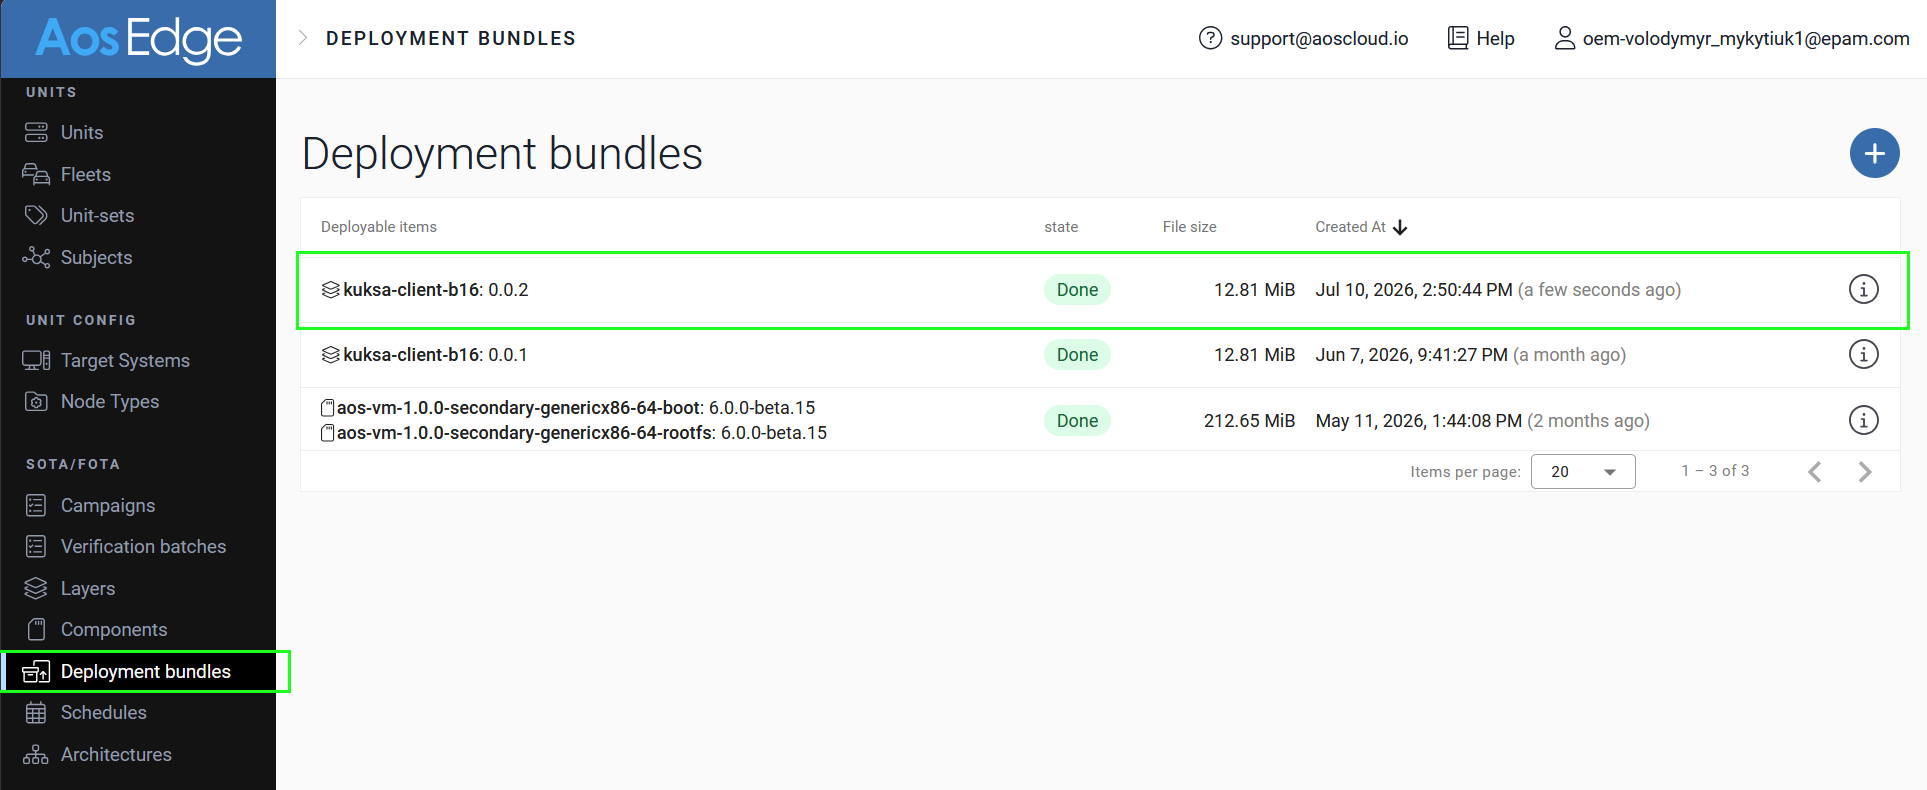
Go to the Deployment bundles page. There you will see your
uploaded file.
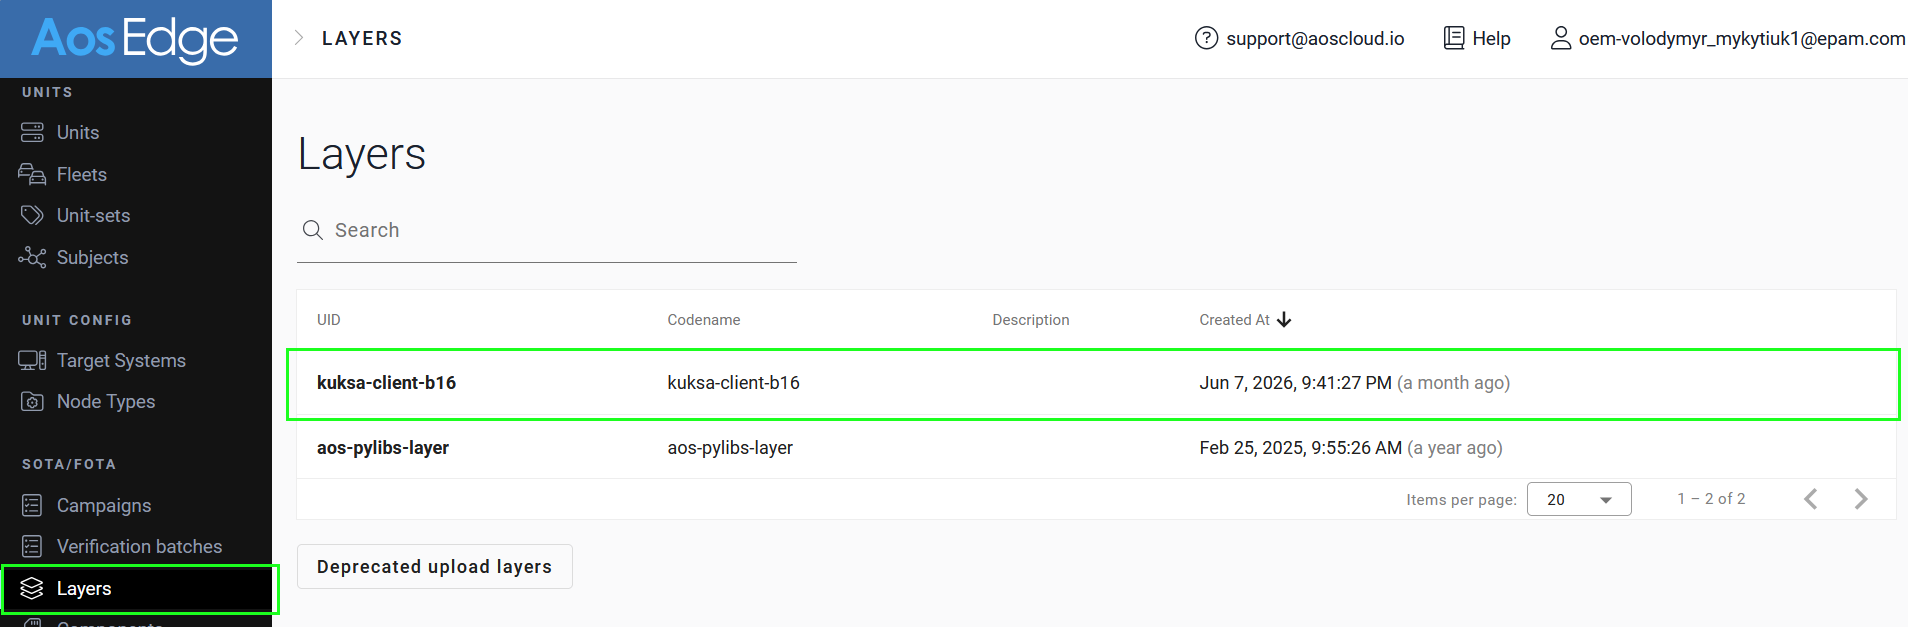
After successful build, it will appear under layers page:
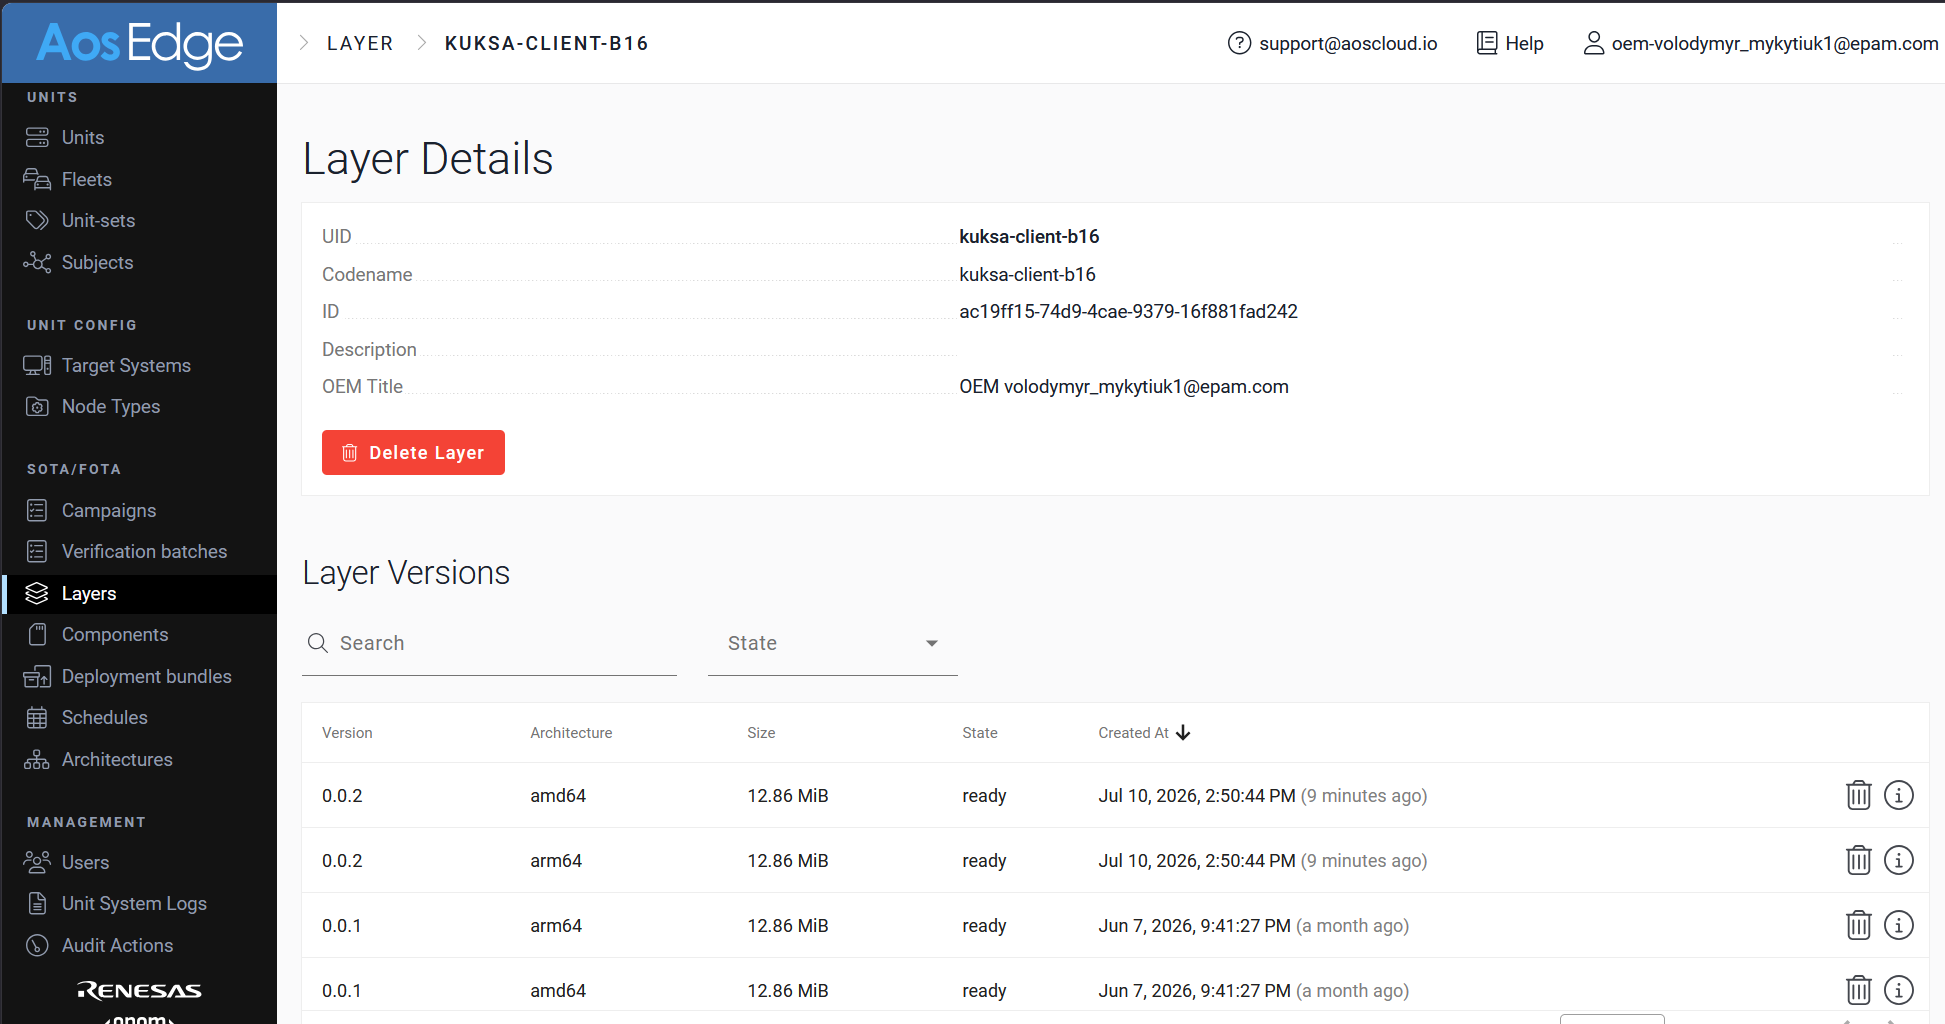
You can click on the layer to see it details:
Use layer
Find available layers
The SP user is able to view the list of layers for finding required one:
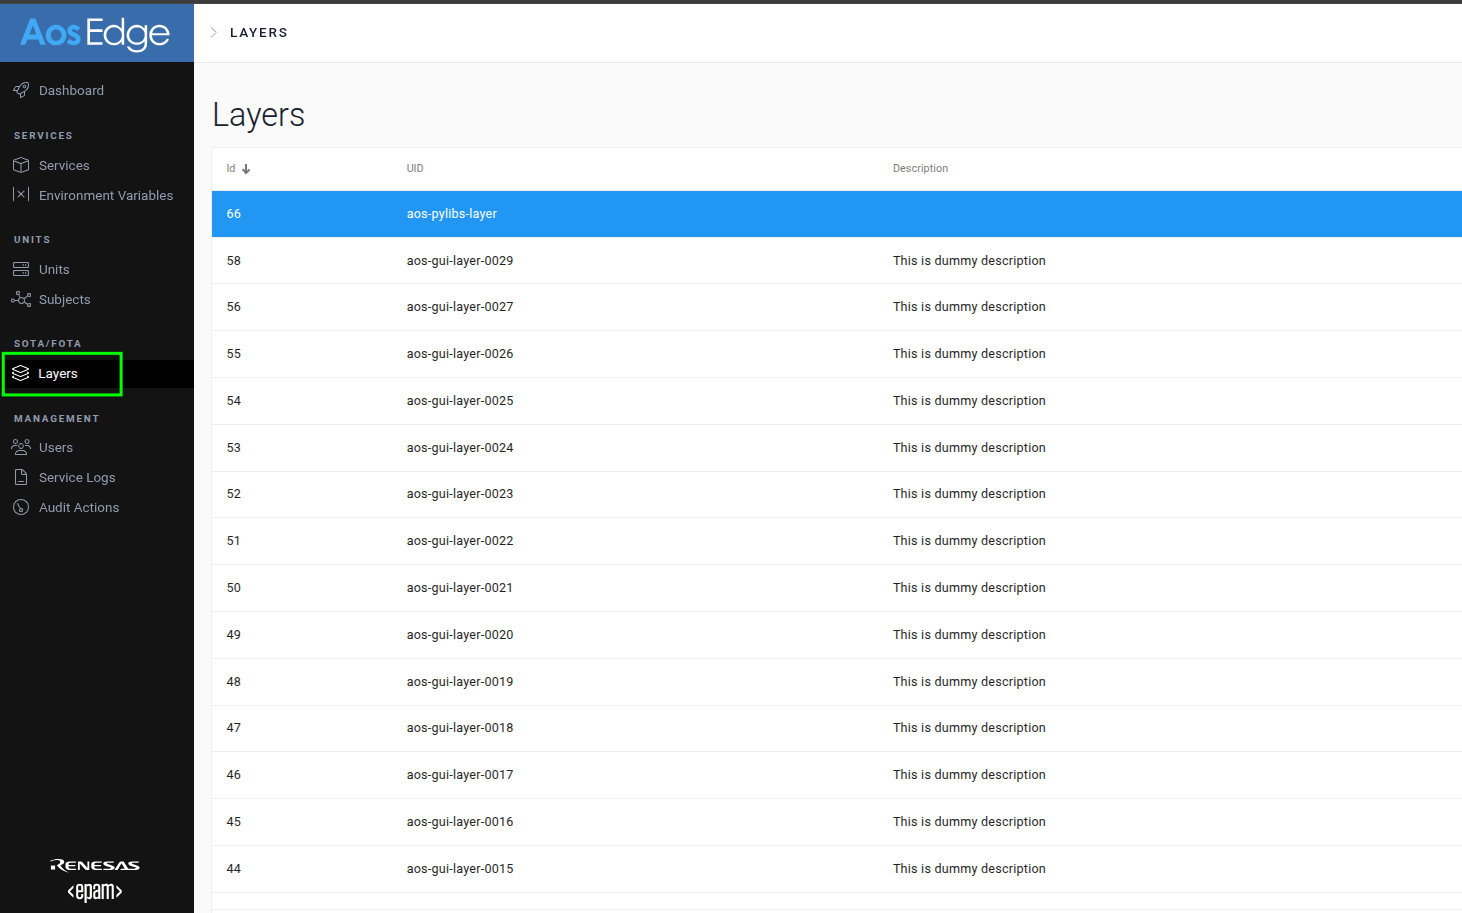
Also The SP user has access to detailed information for each layer and layer versions, including:
- List of libraries
- Library versions
- Other relevant layer information
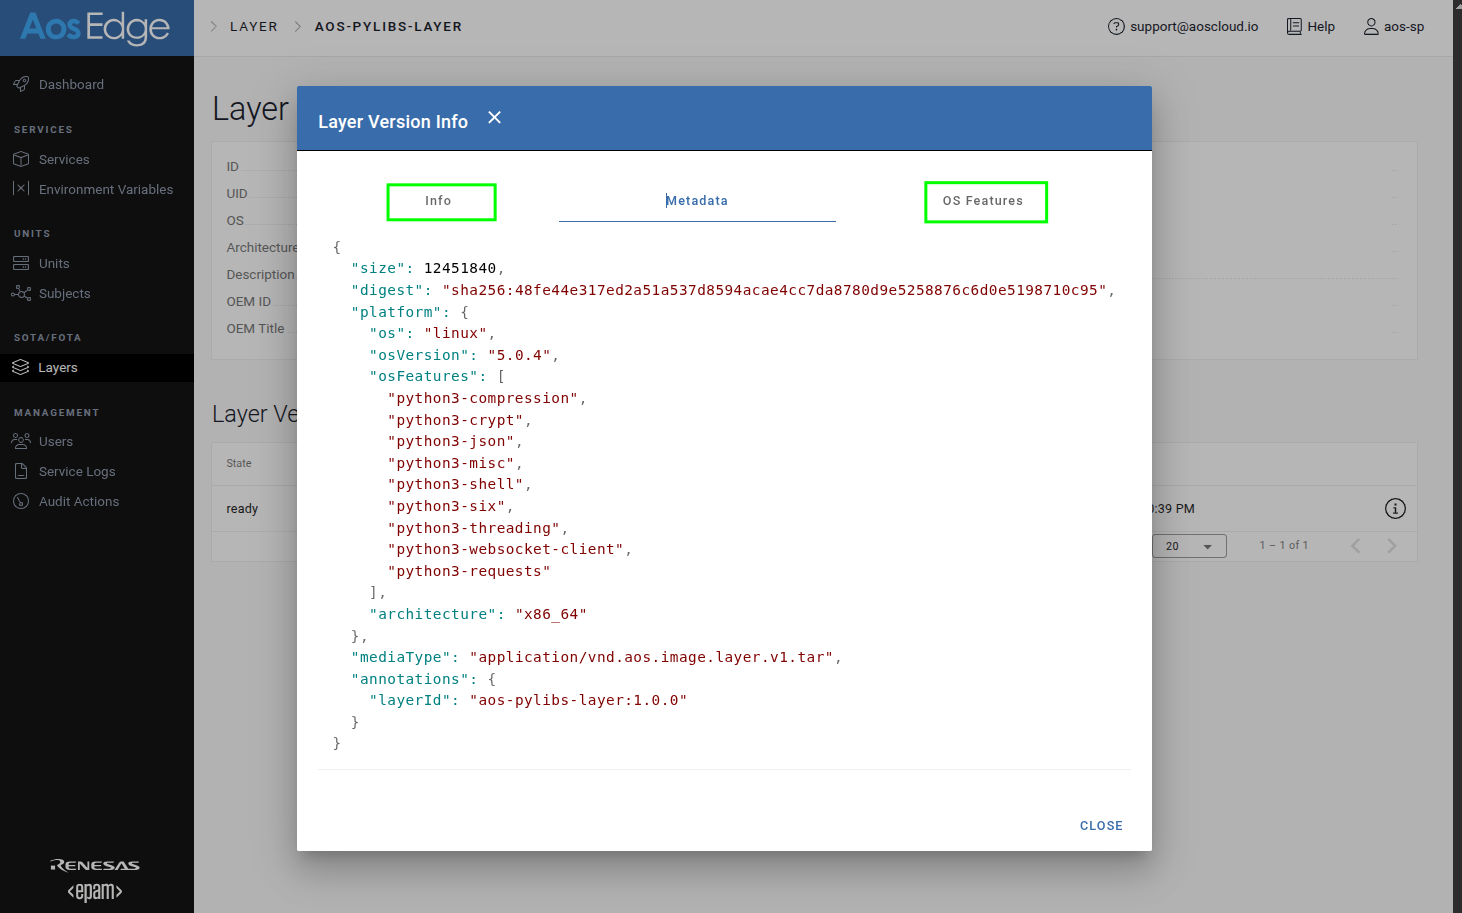
When a layer is created, its metadata (including the list of libraries and their versions) is captured in
layer.json.
Click on the required layer:
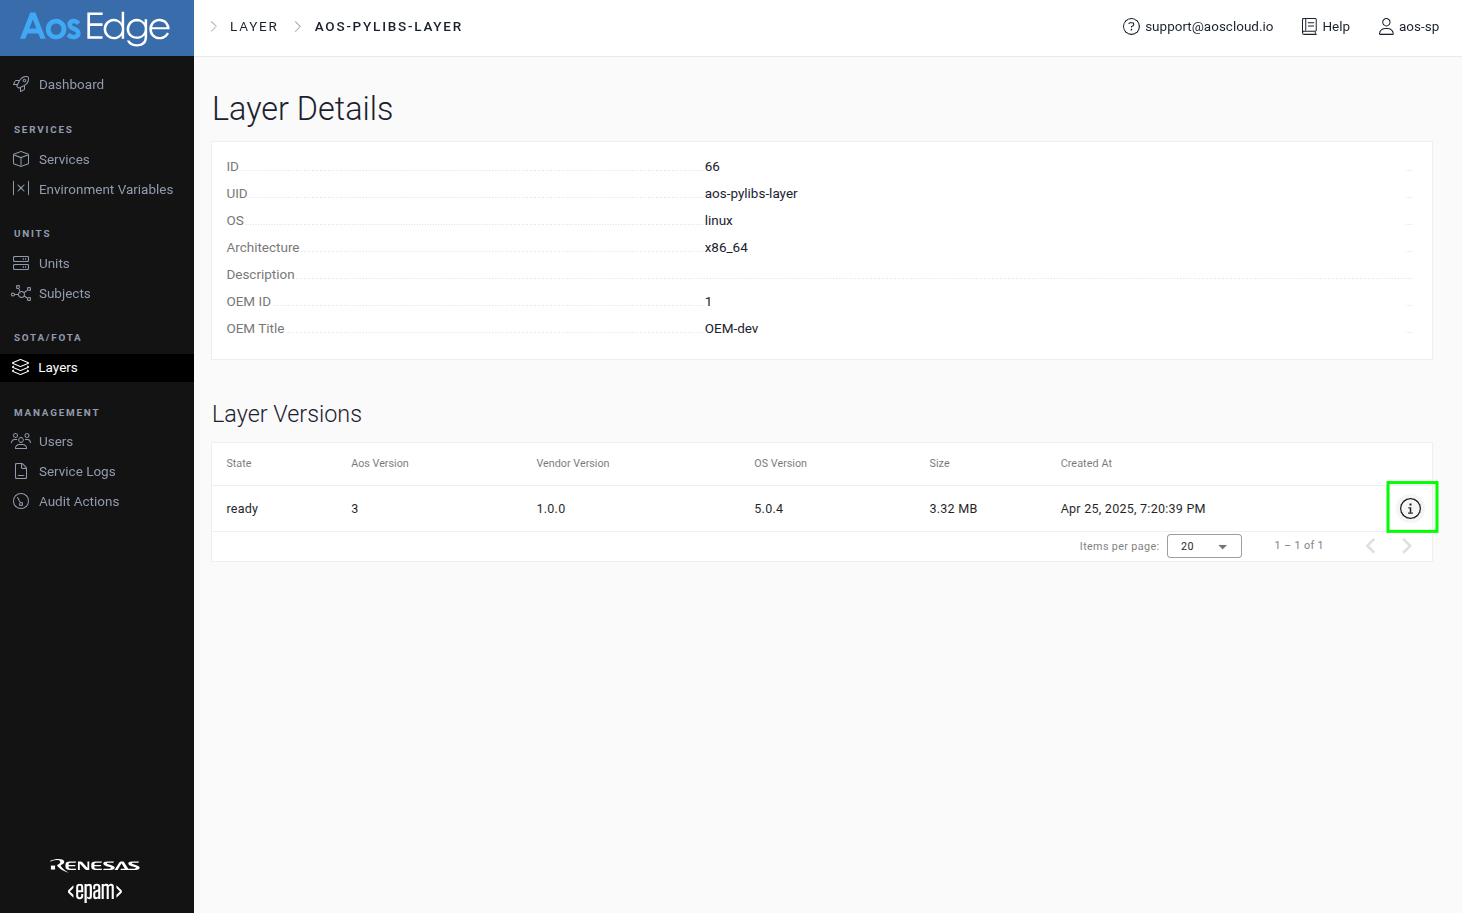
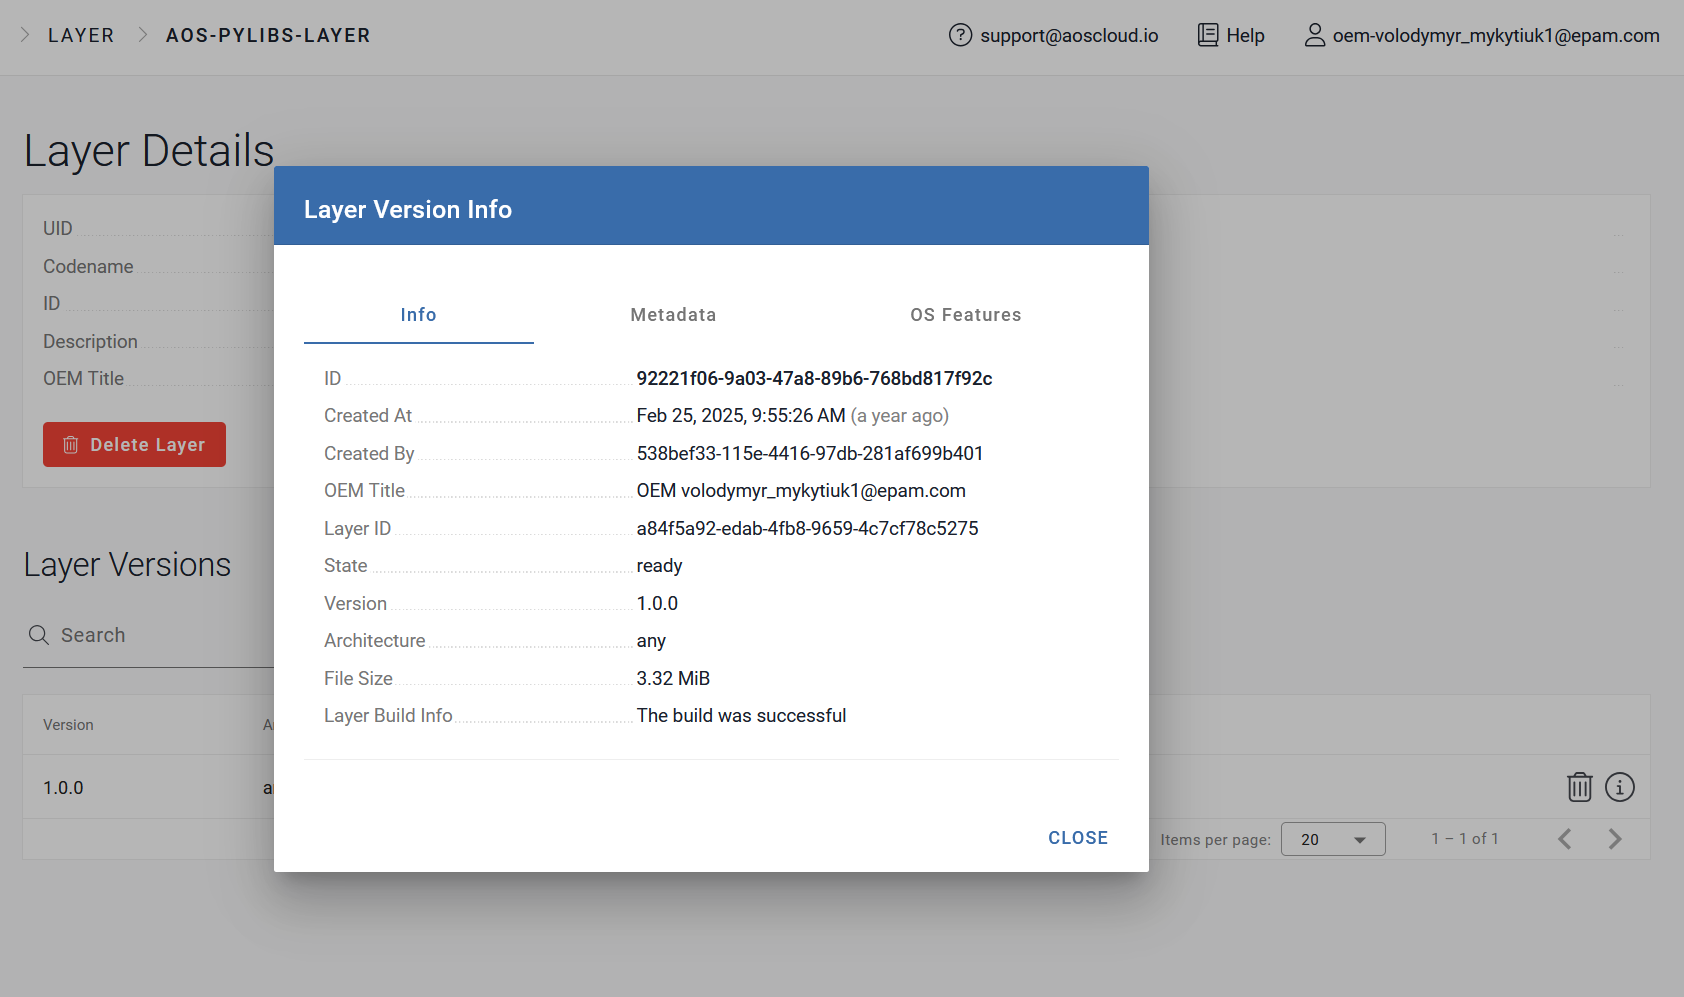
Click on the layer's version:
-
Detailed information:
-
Metadata:
-
OS Features:
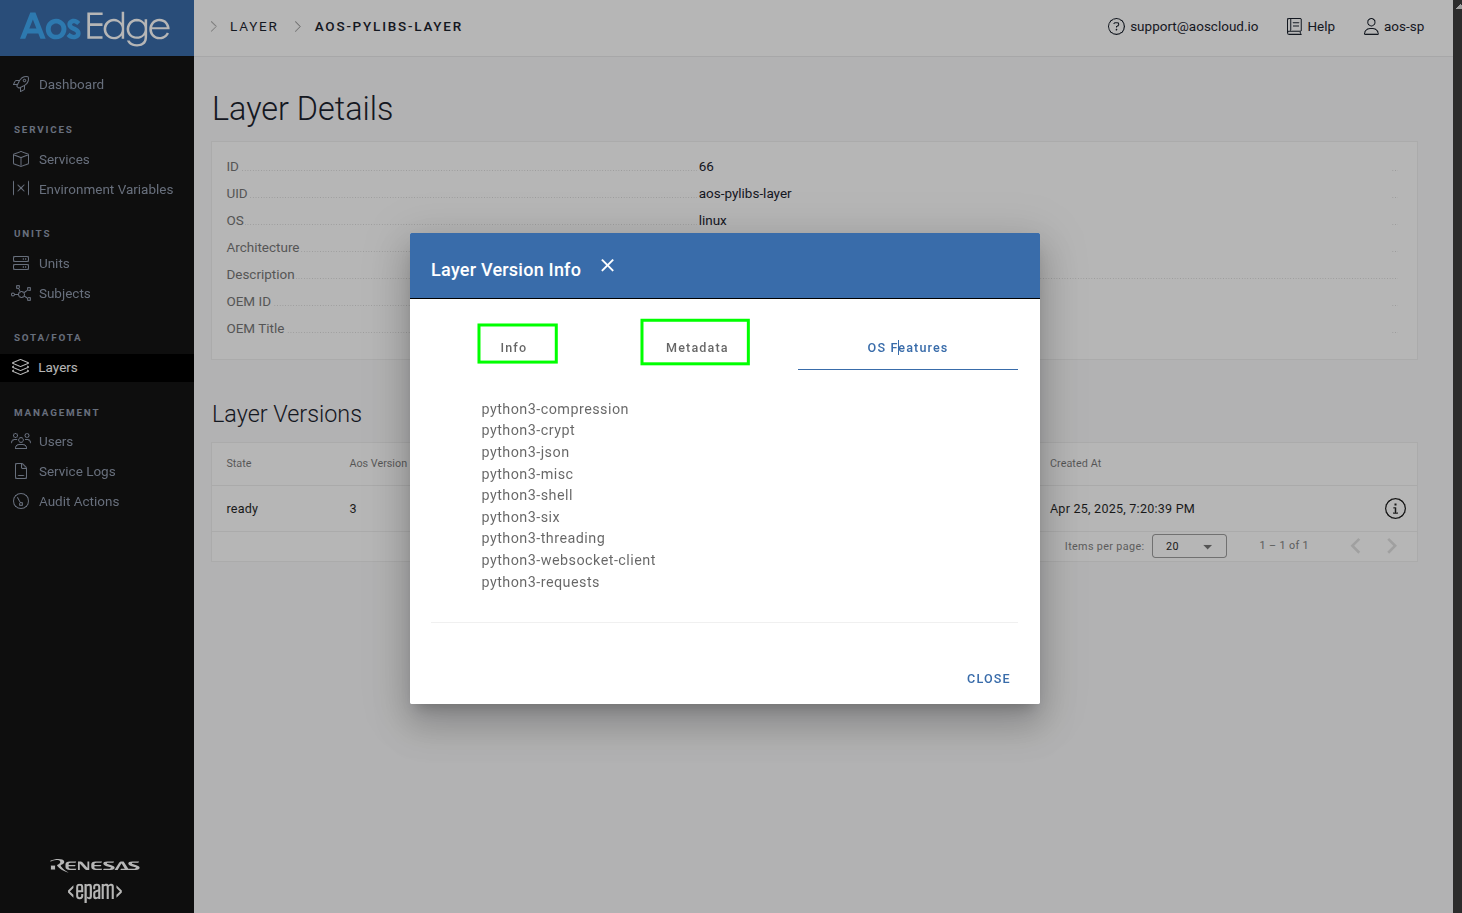
SP and OEM users can query and view the metadata of any layer within their permissions.
Use layer with service
Only SP user can allow service to use layers.
In your service version, update config.yaml with desired layer under the configuration -> layers chapter:
configuration:
    layers:
        - uid: aos-pylibs-layer
          minVersion: 1.0.0
          maxVersion: 2.0.0
NOTE: The layer version fields follow the SemVer specification.
Version compatibility rules:
- Min-max range: Defines a compatible version range where:
- "min" version is included
- "max" version is excluded
- Same values: If min and max versions are identical, that specific version is required
During service deployment, the system will select a layer version that matches these version constraints.
To use the layer:
- Upload your new service version to AosCloud
- The service will be automatically deployed with the specified layer version
Deleting Layers
Layer deletion is restricted to OEM users only. The deletion process follows these steps:
-
Initiation
- OEM users can delete layer versions through:
- Dedicated API
- User Interface
- OEM users can delete layer versions through:
-
Dependency Check
- System automatically checks for dependencies
- Verifies if any service versions are currently using the layer
-
Deletion Rules
- If no dependencies exist:
- Layer version is deleted
- If dependencies are found:
- OEM receives an alert
- Deletion is prevented
- Dependencies must be resolved first
- If no dependencies exist:
-
Confirmation
- System provides confirmation to OEM upon successful deletion
NOTE: When the last version of a layer is deleted, the entire layer is automatically removed from the system.
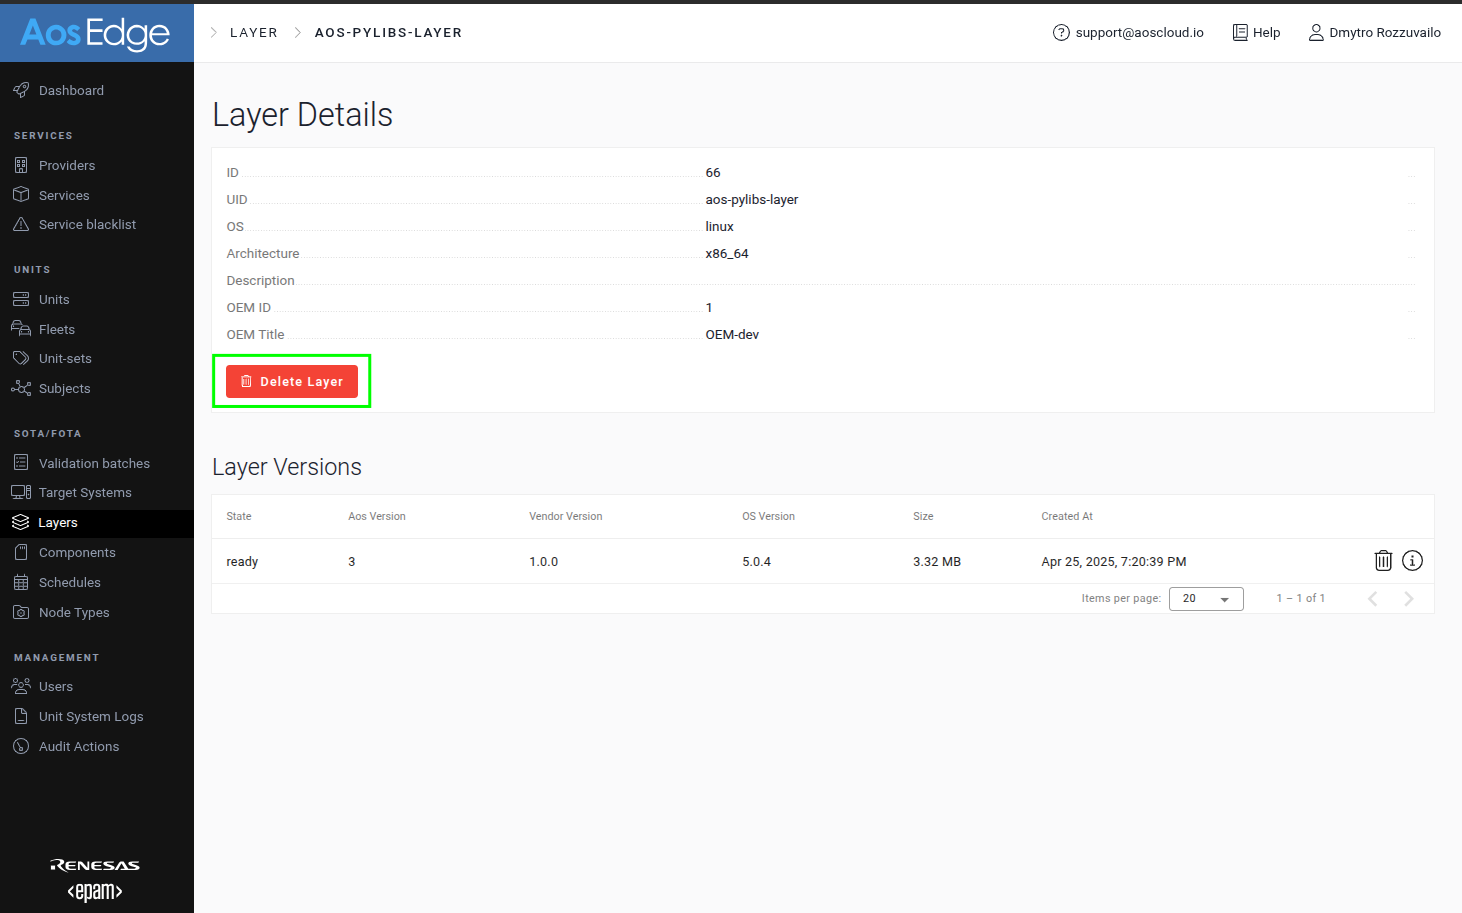
For example, select the layer that you want to delete and click on the 'Delete Layer' button:
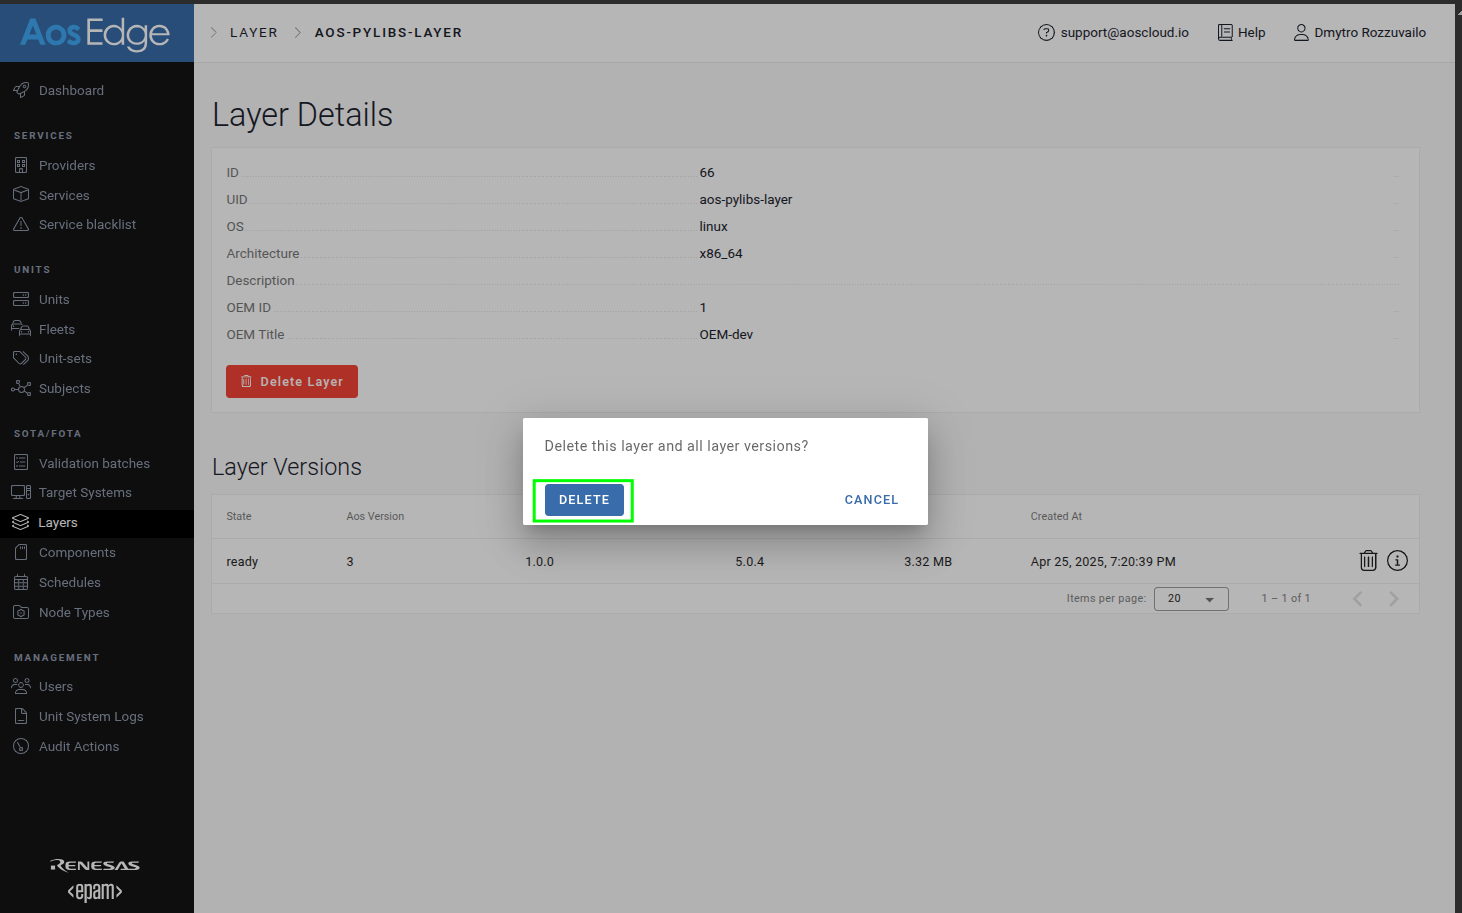
 Confirm operation: